A clogged sink can be a headache, but sometimes the culprit isn’t just the drain itself; it’s the stopper blocking the way. Whether you need to clean out debris or replace a faulty stopper, knowing how to remove bathroom sink stoppers can save you time and frustration. Fortunately, removing a bathroom sink stopper is a relatively simple task that you can tackle with just a few tools and a bit of know-how. In this guide, we’ll walk you through the process step by step.
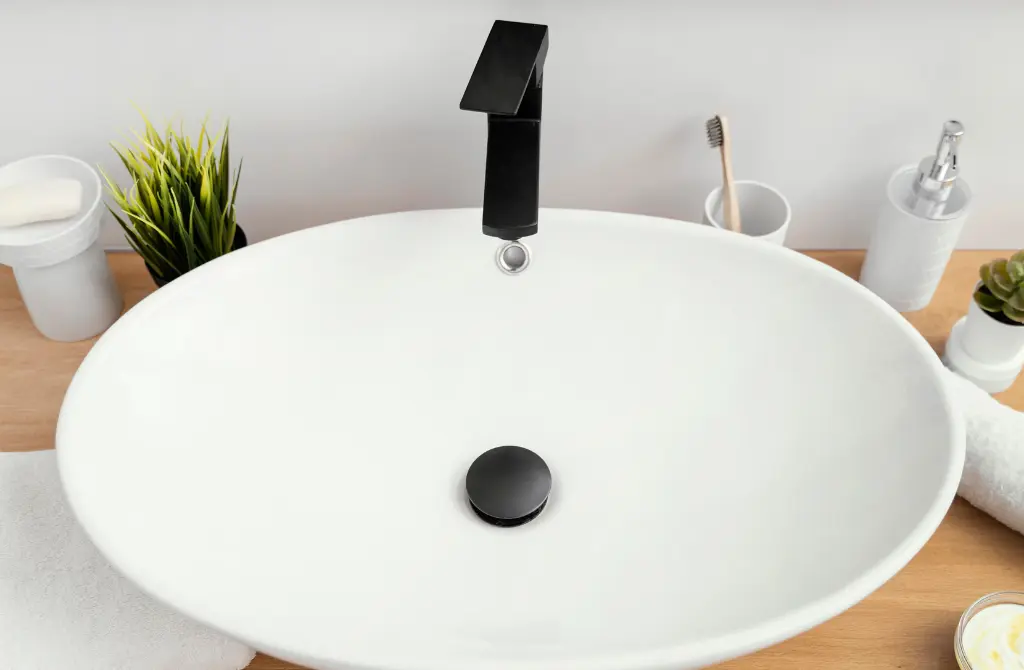
In the realm of household maintenance, a clogged sink can quickly become a nuisance. Often, the culprit isn’t just lurking within the drain itself but is the stopper obstructing the flow. Whether you’re facing a stubborn blockage or simply aiming for routine cleaning and maintenance, knowing how to remove a bathroom sink stopper is a fundamental skill every homeowner should possess. In this comprehensive guide, we’ll walk you through the process step by step, empowering you to tackle this task with confidence and ease with Poseidon Remodeling.
Before you begin, make sure you have the following tools and materials on hand:
There are several types of sink stoppers, including pop-up, push-and-pull, and lift-and-turn. Each type may require a slightly different approach for removal. Here’s how to identify them:
Once you’ve identified the type of stopper you have, follow these general steps to remove it:
With the stopper removed, take the opportunity to clean it thoroughly with soap and water. Use a brush or old toothbrush to scrub away any grime or debris that may have accumulated. While the stopper is out, you can also inspect it for any damage or wear and tear that may require replacement.
If you removed the stopper to clean it or inspect it but don’t need to replace it, simply reassemble it by following the steps in reverse order. Make sure all connections are tight and secure to prevent leaks.
Once you’ve reinstalled the stopper or completed any necessary maintenance, run water in the sink to test the drain and make sure everything is working correctly. If you notice any leaks or issues, double-check your connections and make any adjustments as needed.
By following these simple steps, you can remove and maintain your bathroom sink stopper with ease. Whether you’re tackling a clog or simply giving your sink a thorough cleaning, knowing how to remove the stopper is a valuable skill that can save you time and money in the long run. With just a few tools and a little know-how, you can keep your bathroom sink running smoothly for years to come.